How to save a view as a jpeg image ?
The user has to follow these steps in order to save a view as a jpeg image:
- Select the view with the mouse (left click on the view). It can be either a 2D view or a 3D scene.
- Call the save function with the shortcut CTRL+S,
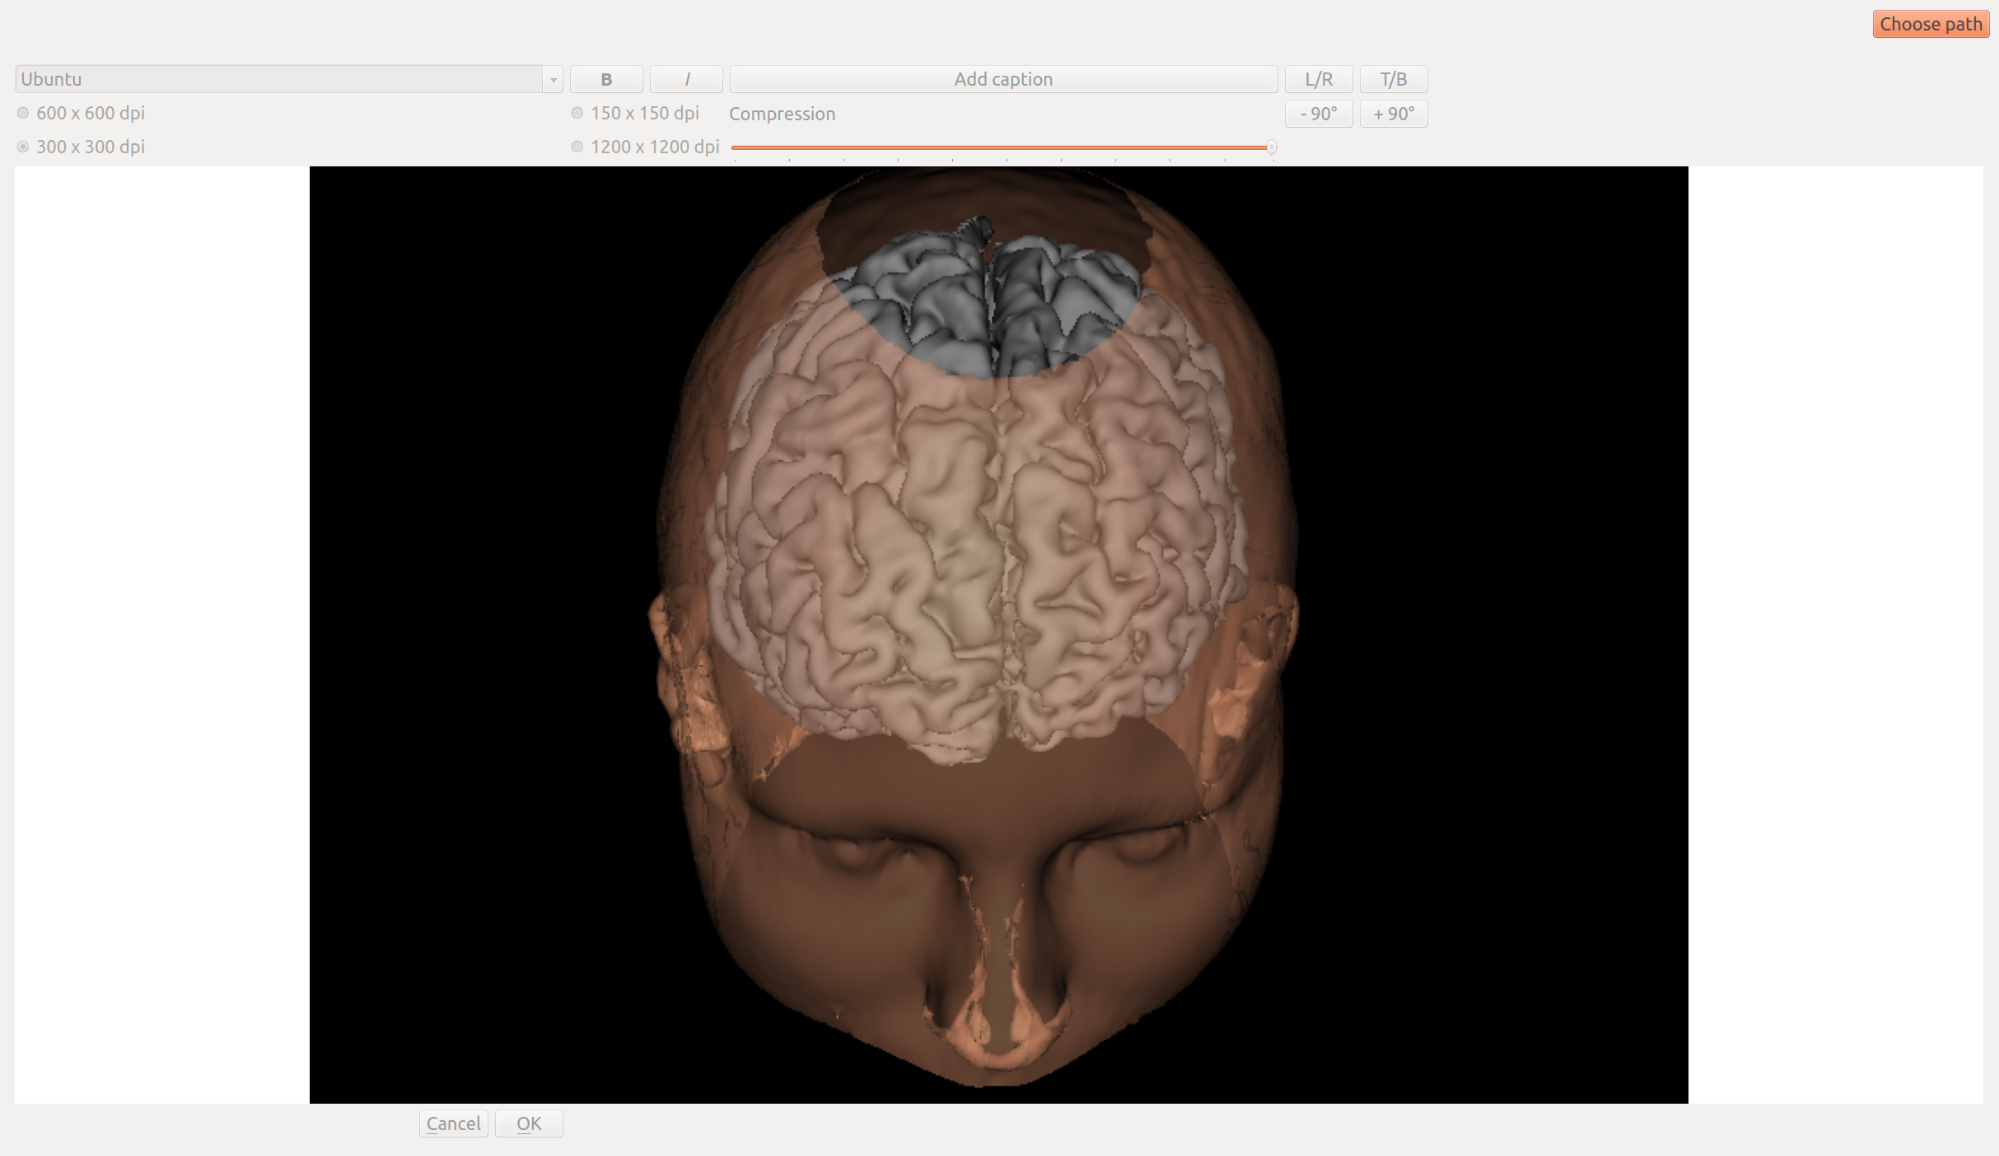
- Choose the path of the save file. Press “Choose path” on the right top corner of the window. This step is mandatory.
- The user now has access to the options listed below :
- Add a caption: press “Add caption” button,
- To change the font, press and hold CTRL and use the mouse to choose the font in the list. The user can also choose an italic or a bold font.
- To change the font size, press and hold CTRL and use the mouse wheel.
- To change the font color, do a right mouse click on the caption, a menu is displayed. It enables to change the font color.
- To delete the caption, right click on the caption and choose “Delete”.
- To move the caption on the image, press and hold the left click on the caption, then move the mouse.
- The dpi can be chosen in the list (up to 1200*1200 dpi). Default value is 300x300 dpi.
- The image can be transformed (+/- 90° rotation, vertical or horizontal inversion).
- The image can be cropped. Press and hold the left click on the image and drag the mouse, a square surface will be drawn on the image corresponding to the portion of the image that will be saved.
- Press OK to validate and save the image.
- Then press Cancel to return back to exit the save window.
Back to table of contents
JimboDICOMViewer
User’s manual jan-2016